
Day One: Wednesday, 1/4/2012
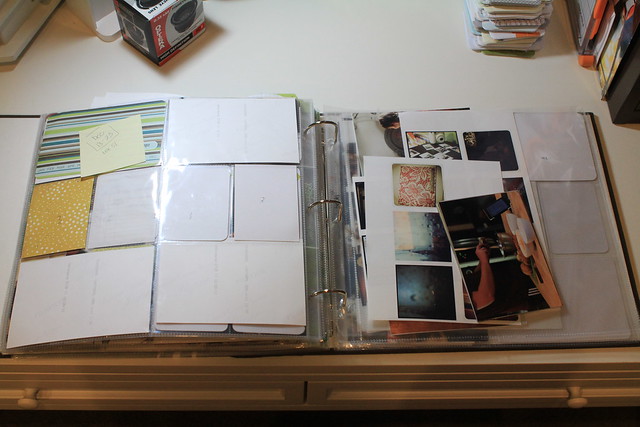
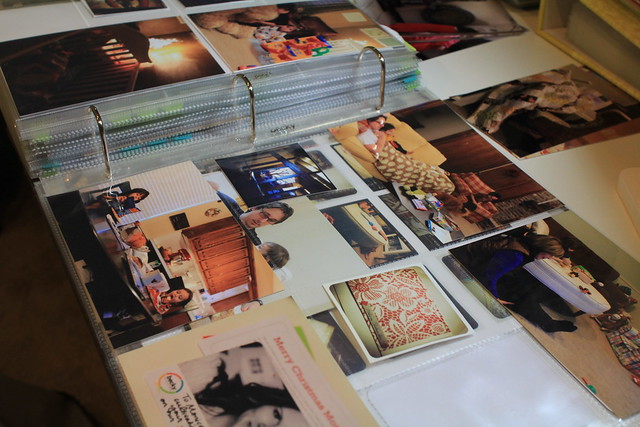
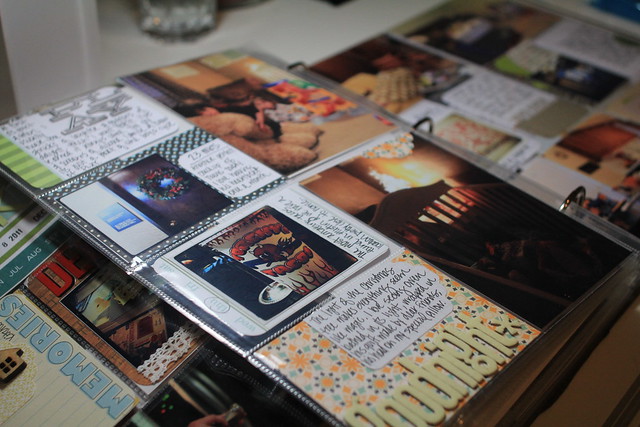
Here is how all my weeks started in 2011. An opening card stamped with the week dates, a sticky note showing which week I'm on and a page protector (either 8.5x11 or 12x12) full of memorabilia collected during the week and (once my pictures are printed) both my 4x6 pictures and my instagram pictures.
Here is how all my weeks started in 2011. An opening card stamped with the week dates, a sticky note showing which week I'm on and a page protector (either 8.5x11 or 12x12) full of memorabilia collected during the week and (once my pictures are printed) both my 4x6 pictures and my instagram pictures.
My weeks go Sunday through Saturday so I can split the weekend. If I've had a busy week at work and not captured a ton of pictures this split can save me as I tend to get my camera out more on the weekends.
I print my pictures at Walgreens and pick them up within the hour. I usually print a few weeks at a time but send them in their own individual batches so I don't have to go back to Photoshop Elements to figure out which pictures go to which weeks. I'm thinking about trying Shutterfly this year since many times I end up not picking up my pictures for a few days and I love how with Shutterfly can add text to the back. I used Shutterfly when I was printing quarterly batches for my storage albums for my Library of Memories and was really happy.
I print my instagram pictures at home (with my HP Photosmart Pro B8350) right out of the Organizer in Photoshop Elements as a contact sheet with three columns. It's easy and the size works.
Oh! I don't edit my pictures. So, when looking through my album you will find some are too dark (my camera's default exposure problem), some are too light and honestly some are simply not the best photograph. I am not concerned if the pictures are post processed. I just include them straight out of the camera.
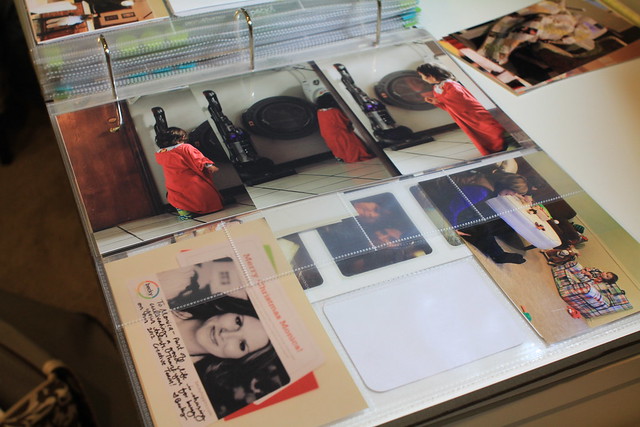
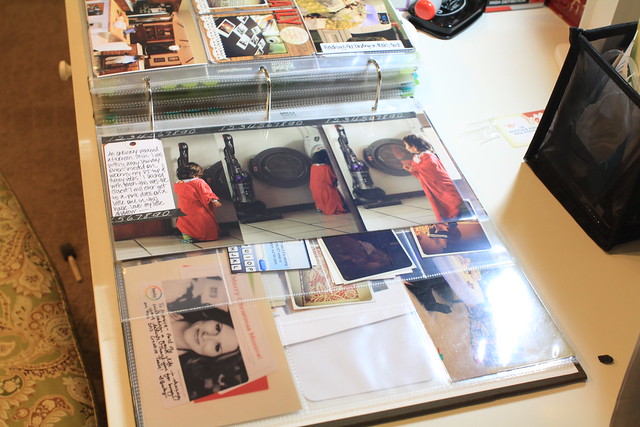
Since my base page protectors are Design A I grab all the landscape pictures that touch me the most either because I simply love the picture or I feel it really captured our week. I just slip them in without any thought. I don't worry if everyone is "even". I just go with it.
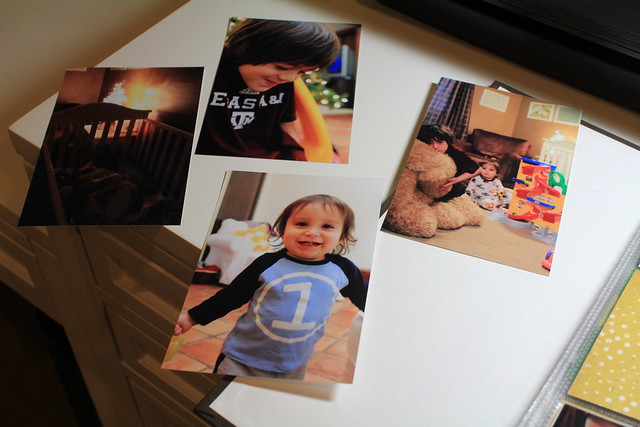
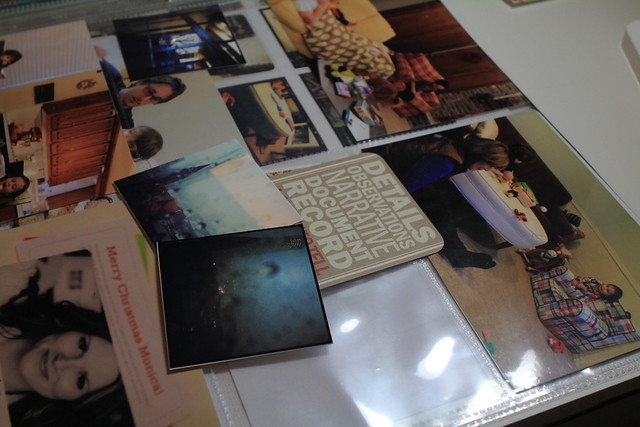
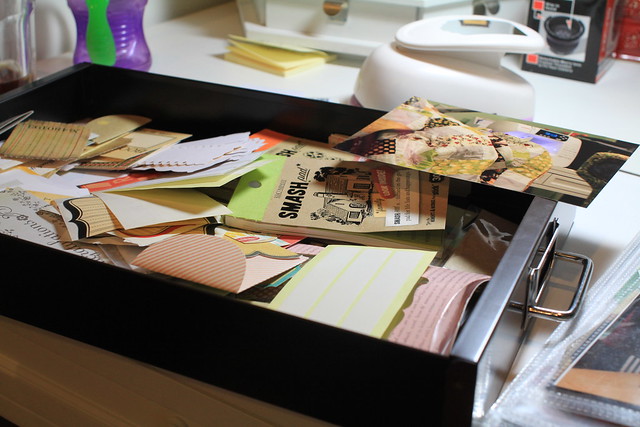
What happens to the pictures that aren't included? They go here. This is my "reject" pile from 2011. Next time my husband & I sit to watch a movie at home my plan is to grab a storage binder, stuff them in and label it 2011. For those reading with a Library of Memories system in place I have a post drafted (in my head for now) that will talk about this a little bit more.
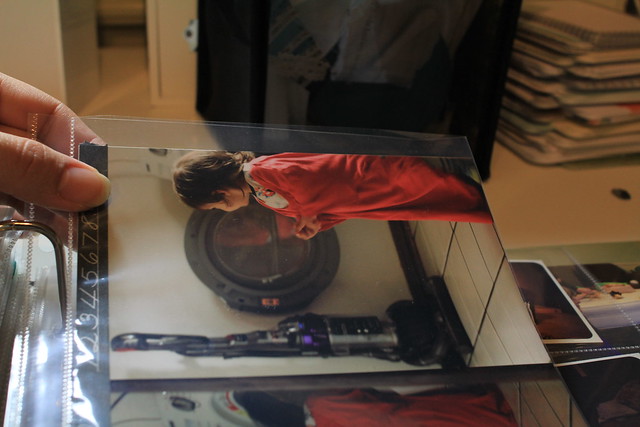
What didn't make the cut? The series of Owen on the left because after I printed I decided to make a 6x12 collage. This was before I saw Ali's layered template and Cathy's layered template. The quilt shot got cut because I had printed a landscape as well to see which orientation would work best. The picture of Garrett is in my December Daily so it got left out as well.
These were the portraits I knew I wanted to include.
I plan on using these in my December Daily, which yes is still in progress, so they were left out as well.
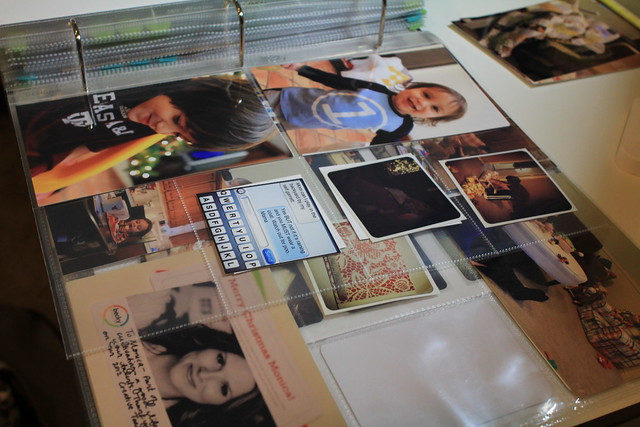
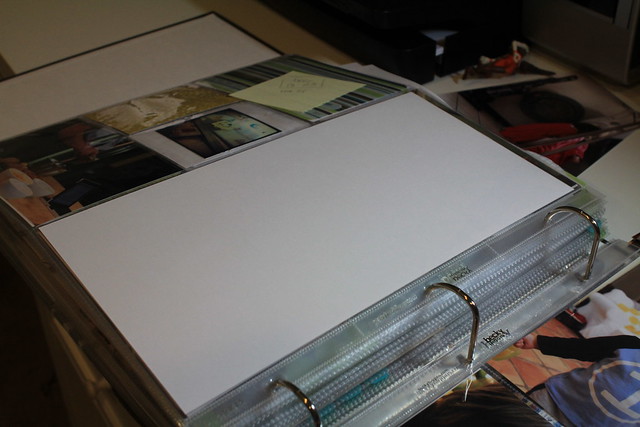
Once I figure out which pictures are keepers I go searching for a page protector that will work. This is the variety pack.
I narrowed it down to Design B & Design D.
Ended up with Design D and then cut it down to the size I needed based on the number of pictures I had which were 4.
Here it is in the binder.
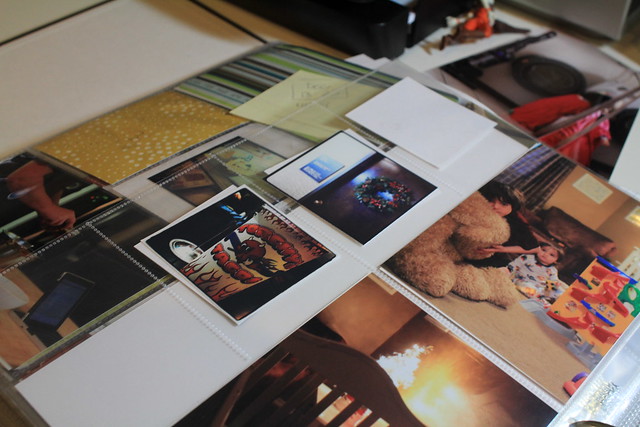
I slipped the 6x12 collage right into a 6x12 page protector. Also, Ali has a great tutorial here that walks through the process that I went through.
After all the 4x6 pictures are inserted then I trim down my instagram pictures.
And I start to slip them in. Again, not every picture makes the cut and the extras go into my little basket.
At the end of the night I had all my pictures in the week & left it for another day. Next week I'll share more about this but many of my weeks in volume 2 of my 2011 Project Life end right here. This may be all that they ever are & I'm 90% OK with that. The other 10% of me says I'll come back to it eventually but it is definitely not a priority.
Day Two: Thursday, 1/5/2012
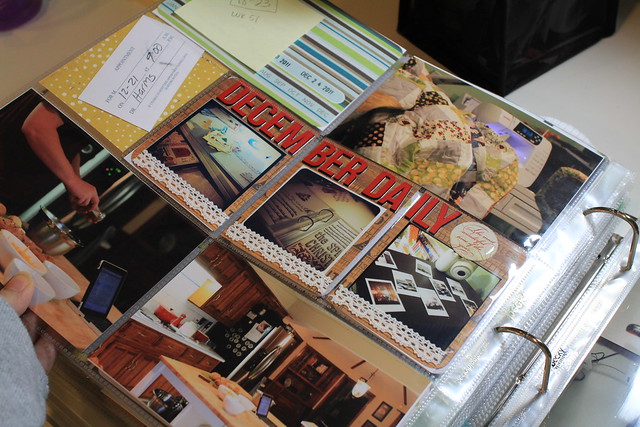
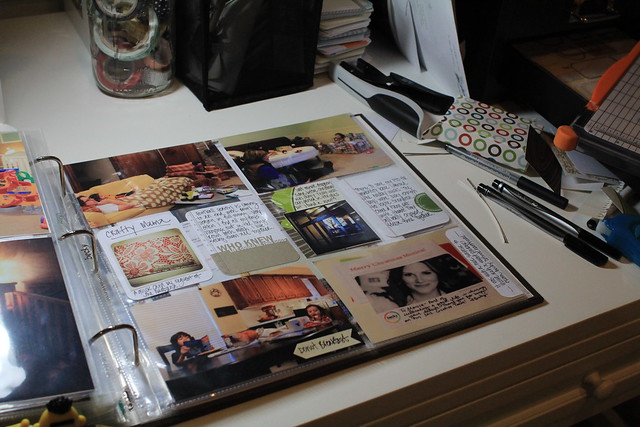
When I have a series of pictures I want to pull together like these of my December Daily in progress pictures I use a piece of patterned paper to pull them together and sometimes pull the title across.
The two pictures on the bottom were from a night in the kitchen & I wanted to tell a longer story so I used one of the folded cards. To fit it into the week I decided that the appointment card wouldn't make the cut.
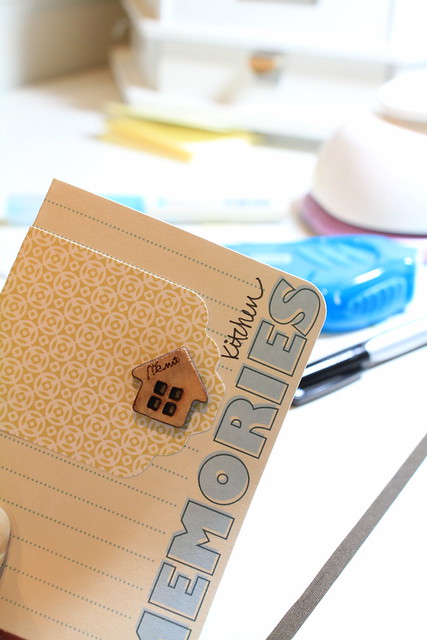
I used the Martha Stewart Glue Pen to adhere the little house & it worked amazingly. This was the first time I tried it & loved it! I really wanted to add Kitchen but hate my cursive. I went with it anyway and was surprised it worked out well.
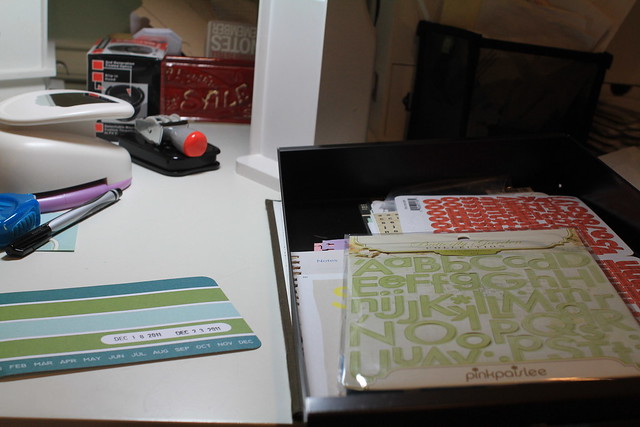
I hunt through my little drawers that pull out for labels, tags, etc. to add to pictures for journaling. Eventually I will do an organization post but I'm still moving into my space right now so that may be awhile. The drawers I use are from The Container Store, here. I just saw they are on sale. Seriously I'm in love with these drawers.
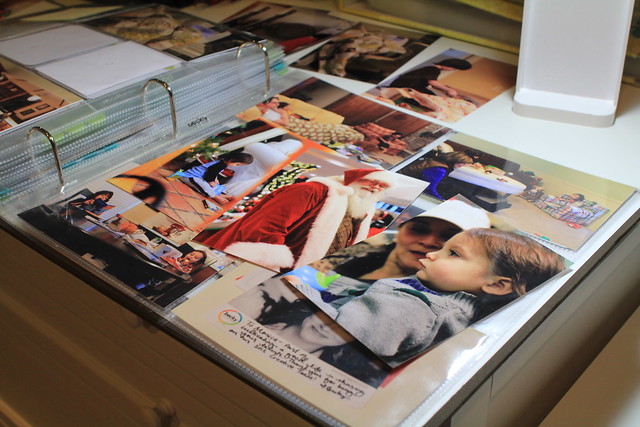
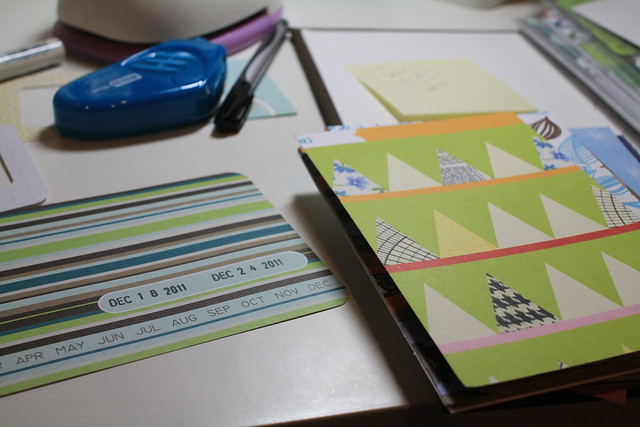
I saw Marcy mention on Twitter that she was going to let Christmas & Christmas Eve have its own spread & I loved that idea. So, I had to make a new week card. I started looking through my pre cut 4x6 cards from scraps and then decided it was more energy than I wanted to spend. So I just pulled out another Turquoise Edition card and stamped new dates.
I also keep my flat letter stickers in my drawer. I like to use my stash for the week title cards.
I finished up this side & called it a night.
Day Three: Friday, 1/6/2012
On Friday all I did was trim down the 6x12 page protector since for some reason my collage wasn't exactly 6x12.
Day Four: Saturday, 1/7/2012
On Saturday I finished up the right side of my week primarily using the journaling cards and not much else extra.
Day Five: Monday, 1/9/2012
I usually finish my inserts last. This is the back of my collage. I included the packing slip from my husband's gift that I made with Blurb. Seriously, my favorite gift ever given. I do plan on sharing here eventually.
I had a longer story I wanted to tell about the pictures of the boys so I cut a 4x6 card into two 3x4 cards so I could make it work.

What happens to the pictures that aren't included? They go here. This is my "reject" pile from 2011. Next time my husband & I sit to watch a movie at home my plan is to grab a storage binder, stuff them in and label it 2011. For those reading with a Library of Memories system in place I have a post drafted (in my head for now) that will talk about this a little bit more.


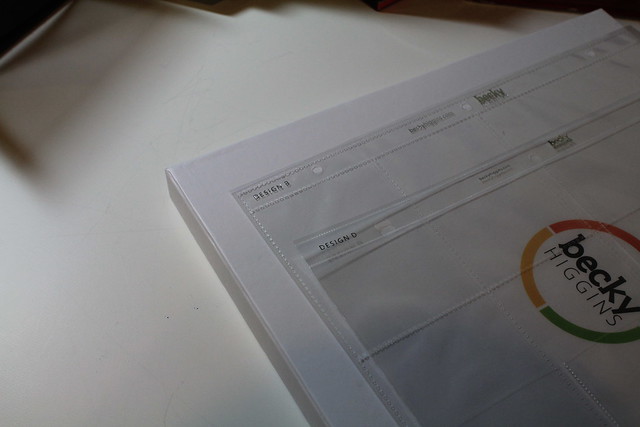
Ended up with Design D and then cut it down to the size I needed based on the number of pictures I had which were 4.

Here it is in the binder.

I slipped the 6x12 collage right into a 6x12 page protector. Also, Ali has a great tutorial here that walks through the process that I went through.

And I start to slip them in. Again, not every picture makes the cut and the extras go into my little basket.

At the end of the night I had all my pictures in the week & left it for another day. Next week I'll share more about this but many of my weeks in volume 2 of my 2011 Project Life end right here. This may be all that they ever are & I'm 90% OK with that. The other 10% of me says I'll come back to it eventually but it is definitely not a priority.
Day Two: Thursday, 1/5/2012
When I have a series of pictures I want to pull together like these of my December Daily in progress pictures I use a piece of patterned paper to pull them together and sometimes pull the title across.
The two pictures on the bottom were from a night in the kitchen & I wanted to tell a longer story so I used one of the folded cards. To fit it into the week I decided that the appointment card wouldn't make the cut.

I used the Martha Stewart Glue Pen to adhere the little house & it worked amazingly. This was the first time I tried it & loved it! I really wanted to add Kitchen but hate my cursive. I went with it anyway and was surprised it worked out well.
I hunt through my little drawers that pull out for labels, tags, etc. to add to pictures for journaling. Eventually I will do an organization post but I'm still moving into my space right now so that may be awhile. The drawers I use are from The Container Store, here. I just saw they are on sale. Seriously I'm in love with these drawers.
I saw Marcy mention on Twitter that she was going to let Christmas & Christmas Eve have its own spread & I loved that idea. So, I had to make a new week card. I started looking through my pre cut 4x6 cards from scraps and then decided it was more energy than I wanted to spend. So I just pulled out another Turquoise Edition card and stamped new dates.

I also keep my flat letter stickers in my drawer. I like to use my stash for the week title cards.
I finished up this side & called it a night.

Day Three: Friday, 1/6/2012
On Friday all I did was trim down the 6x12 page protector since for some reason my collage wasn't exactly 6x12.
Day Four: Saturday, 1/7/2012
On Saturday I finished up the right side of my week primarily using the journaling cards and not much else extra.
Day Five: Monday, 1/9/2012
I usually finish my inserts last. This is the back of my collage. I included the packing slip from my husband's gift that I made with Blurb. Seriously, my favorite gift ever given. I do plan on sharing here eventually.

I had a longer story I wanted to tell about the pictures of the boys so I cut a 4x6 card into two 3x4 cards so I could make it work.
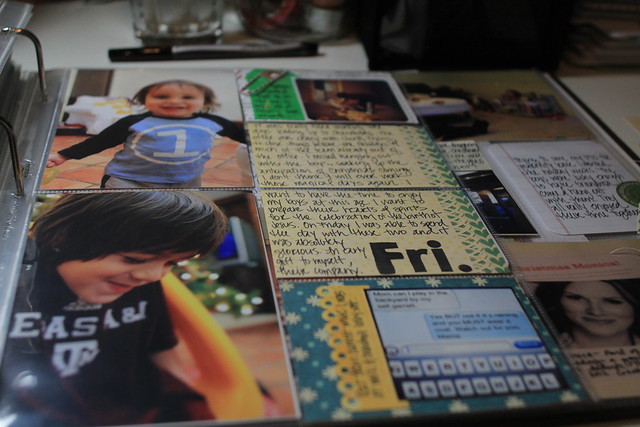
I love using my scraps in this project. This super cute paper is actually the back of a Studio Calico advertisement. LOVE.

The bottom paper used on the Goodnight journaling card is also the back of a Studio Calico advertisement card that came in my kit. Since I really don't have any local Scrapbooking Stores around me anymore I pretty much exclusively get all my supplies from my subscription with Studio Calico. I love that they do all the thinking, coordinating and hunting of new supplies. All I do is open the box :) This is a huge time saver for me.
I know this was a lot but if you have any questions please post in the comments or you can always send me a note at withoutfilters at gmail dot com.
Thanks for reading!
Monica


10 comments:
Monica I always love your PL pages and yes...they do have such a homey feel.
I have an instagram question for you. What size are your pics printing out as? I have a system for printing that seems to work for me, but I am wasting alot of paper, and yours do not. I don't have PSE and can't figure out PS7 so I am printing them from a Word Document as 4x4. I didn't want to go too small...but yours look perfect.
Just wanted you to know that I LOVE your blog!! You are such an inspiration to me. I tried PL last year but the daily just became to overwhelming. This year I hope to do my PL on a weekly basis and seeing your posts has really motivated me to get started. I have all my page refills ready. Have a fabulous weekend!! Hugs, T
Great post. Thanks for all the tips. I love the look of your PL album. I had a similar question to Tracy re:Instagram prints -- I do have PSE, but haven't tried to print any yet.
Thanks
You always have such great informative posts that don't overwhelm! Thanks for sharing your process. I'm curious now how you get your prints off instagram. And which filters are your go-to favorites? I am ashamed to admit that I've had instagram for two years and haven't really played with it. You've inspired me to take it out of the "group" in my apps and move it next to my camera instead!
I love your handwriting! It's so cute. I can't even write in cursive anymore.
loved reading through this and seeing YOUR process. :)
My PL 2011 album was created like yours, printing out all my photos & going from there. This year I am planning on planning more...sitting down on a Sunday night & figuring out what stories I want to tell...like this week I took a picture of my youngest daughter in bed, it's a cute pic but the story I want to tell is about her attachment to her teddies & how her older two sisters never had this sort of attachment...I hope by planning the stories & keeping notes when/if I get behind I can still journal the stories rather than write about the pictures.
With my leftover pictures from last year I divided them up between the girls & put them into individual regular photo albums for them to look at when ever they like, because at 1 & 3 they need to be supervised looking through the big album, and the extra mini prints are going to be used to decorated the cover of the American Crafts craft album that I used for 2011 PL.
I love this post, so many good ideas. Today I was wondering what to do with photos that don't make the cut. I would like to use them in some way for an end of the year gift possibly to the great grandmothers. Pondering. Love your pages
So glad I found your blog!!! I'm just starting PL and learned SO much from your post. I signed up so I can continue to follow you and want to thank you for blog!
Sharing a little blog love with a Liebster award.
Post a Comment